Showing posts with label ps blogger. Show all posts

Wednesday, 14 September 2016

Boohoo Plus - Eliza Peplum Skirt Review

Boohoo is a brand I've not considered before, not for any real reason other than sizing. I did know they did a plus size range but I never really checked it now, now I regret everything.


Payday came and I thought I'd have a little trawl through, I was looking for something particular so this made it a little easier. We were celebrating Roald Dahl's 100th birthday soon after and I wanted to go at the Grand High Witch, of course, because it appeals to my dark little heart. So I wanted a witchy pinup skirt.

 And Boohoo Plus delivered! I spotted this gorgeous little number, the black pencil Eliza skirt with a peplum waist made from scuba fabric which was nice and stretchy. There was an exposed silver zip at the back, I love exposed zips so I knew this would be a winner. What I struggle with when it comes to pencil skirts is that they can be baggy at the bottom, I often take mine in so I really get that hour glass shape. This one was perfect, tight with lots of movement and the peplum was dramatic and I felt really confident in it. I can be a bit aware of my stomach so I often wear tops over my pencil skirts, this is the first one I wore the top underneath and I bloody loved it. Best of all? It was on £12....£12!


I decided to give the skirt a test run at the weekend, I had intended to go without tights but my chub rub shorts were visible through and under the skirt so I put on the old faithful black tights.  I teamed the skirt with a black strap top from Primark, I live and die in these and have about ten. They're lycra ones and I feel like they hold me in a bit and I've had them for years without them falling apart. This is pretty unexpected considering they only cost £3 each. 

Then I added one of my favourite cardis from Collectif in a cherry print, you can't get this style any more but all their cardi's are fab so I suggest you check them out. I have it in this style and a dark green velvet one too which will be great for winter. 

I felt killer in this outfit, I can't wait for summer to go away now so I can rock it a bit more often, I'm not also on the hunt for some more peplum's! 

 
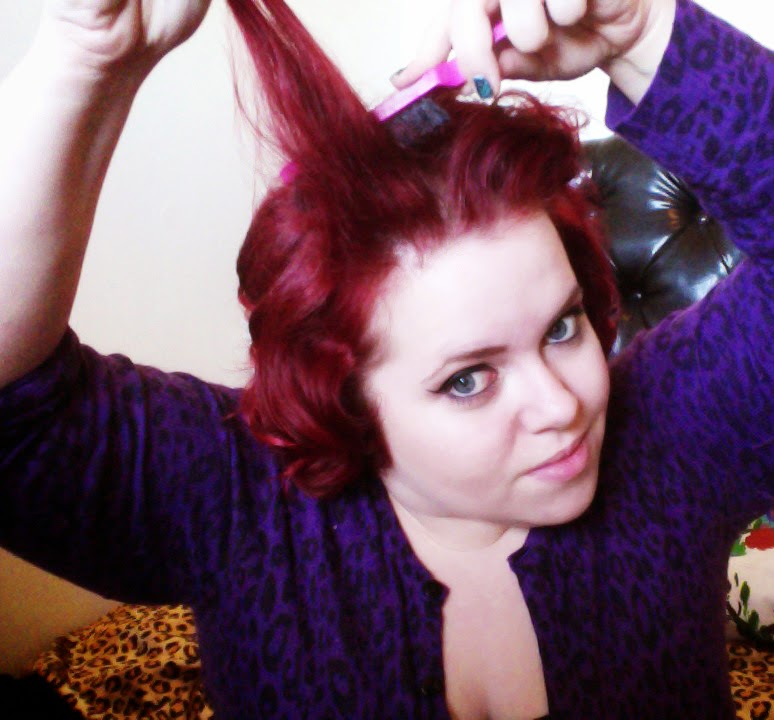
Oh and I also thought I'd play with my hair (excuse the offensive bobby pin).

Until next time. 


Pin It Now!

Sunday, 21 February 2016

Oil Slick Hair, My Dream To Be A Disney Villain


I've had red hair for years now, about 5 I think. And I love it, I really do. But I've always dreamt of something darker, something more...Ursula or Maleficent and maybe even a bit of Hades creeping in. 


To be really honest I've always wanted blue hair but haven't dared bleach it to achieve this dream. I did however notice that the ends of my hair were getting very light, light enough to colour blue? Why not! I caved and bought some 'midnight blue' from Directions and boldly whacked it on hoping for maybe a bit of ombre? And what did I get? DISNEY VILLAIN OMBRE THAT'S WHAT!

I did panic slightly when I blow dryed it as it looked like a dark storm, blue and black and murky. Once I'd washed it once more what I was then left with was, oil slick hair, perfect for any evil character. 


In the sun it was beautiful, stunning blue at the bottom and streaking throughout the red which now had streaks of purple and almost looked iridescent like those purple/red/green cars you see around. 

I decided to pin curl it and this was the best decision I made. It brought the blue higher up and more visible and you could really see all of the colours working together. So in love with this hair. 

Long term, will I keep it? Not sure, I think blue will be harder to maintain than the red but I just really wanted to try it out. The blue will stay in a little longer but I may colour it again with the red which I think will make the overall end colour really stunning.

Stay tuned!
Pin It Now!

Saturday, 2 January 2016

Christmas Eve in Lindy Bop - Review

It's been ages since I posted, will do better this year! I thought I'd do some more outfit posts, and I'll start with my favourite outfit of the festive season. As we're Norwegian, we mainly celebrate on Christmas Eve with a huge meal consisting mainly of meat, a huge rib of pork, meatballs and various kinds of sausage which is a tad perversely shaped...don't ask. 

 
We also like to dress up for this meal as it's really special and what's the first thing you'd pick to wear? Maybe something that you could eat loads in (thinking of Joey in Friends with his thanksgiving turkey eating pants), something with a full skirt that fans out hiding the after belly of food? NAH!
 
I knew you'd want to see the meat in all it's glory... no sniggering


I felt brave and ordered something I've never ordered before, a figure-hugging wrap dress from Lindy Bop, the 'Sadie' dress. I wasn't sure how this would suit me but slapping on the control shorts I gave it a go and I bloody loved it. Bright green leopard print may not sound like something you'd wear to Christmas Eve dinner but it's actually really lovely and I felt amazing in it. I really hope they release more styles.

The fabric is nice and heavy so it falls nicely and gave me a great shape I wore it again on new years eve but my hair wasn't nearly as good hence so pictures! It gathers and ties up at the side which I love as I'm not sure how I'd feel in a tight wiggle dress without this little disguising feature but you never know, I might brave it next time. 

Great news is that Lindy Bop has a sale on, you can get it now for £20.99. 

PS. Not an endorsed post, I just love it so much. 


I also thought I did a pretty good hair and make up job! All using Makeup Revolution, their Ultra Brow Palette is the best and give me the brows of my dreams and their contour trio palette works a treat though I don't think that's online anymore. I did a wet set on my hair the night before to get the pincurls perfect for the day!


Pin It Now!

Sunday, 25 January 2015

Wet Set Tutorial With Soft Curlers

One thing you may know about me is that I have a creepy obsessive relationship with my hair. I love spending evening messing with it and making it look pretty and using a shit load of filters and hashtags and sharing the hell out of it on Instagram. Can't help it and will never apologise for it, and I love creeping over all your pictures too and getting inspiration, don't we all do that? I have hair envy of so many people all day long. Instagram just feeds it, and I love it. 


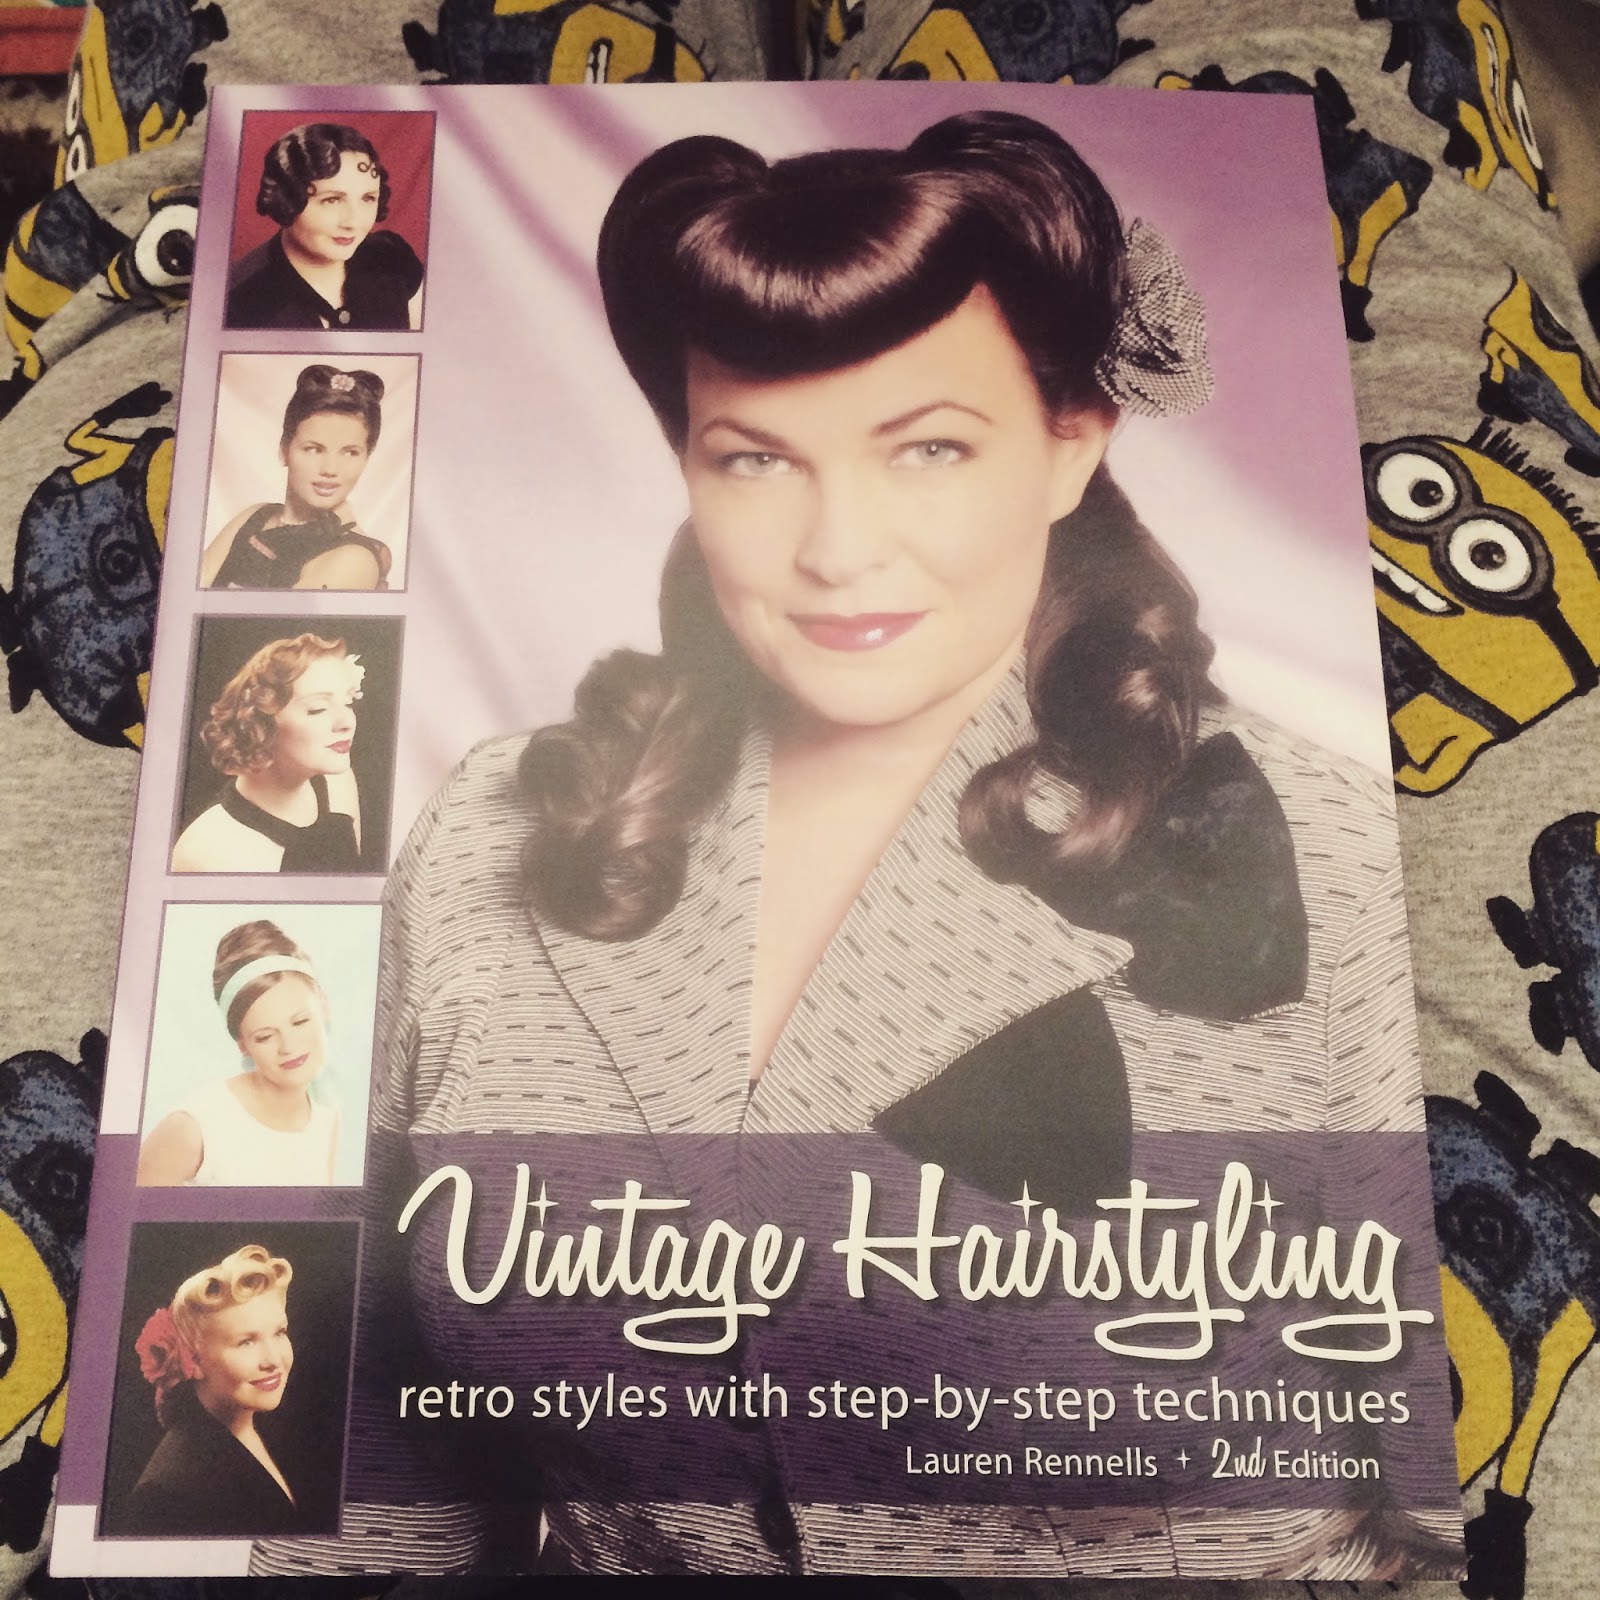
I got some of these soft rollers in my Christmas stocking along with this vintage hairstyling book so I couldn't wait to test them all out. I liked the curlers so much that I bought another set from Claire's, they're £8 a pack (18 pieces). 

 
I played around with a few of them and after posting a couple of pictures on IG I was asked a few times to do a tutorial and I've only now finally gotten around to it. I didn't do a video this time as it had to be done in two parts and quite repetitive so didn't think it was needed. Because I did a west set I left it overnight to get a good curl which meant I had to do some of the pictures at night. I did however I steal one of my mum's sewing lamps to make it a bit brighter as the lighting in my room where I do the tutorials is quite dark. So forgive some of the crazy brightness, that's the only thing I photoshopped in these pictures - tried to fix the insane shine!


OK so first I washed my hair and let it dry so it was only about 10% wet. I then sectioned off my hair and got all my viscous tools ready. I had two packs of the curlers at the ready, a slumber cap, hair ties and a solution made up with hairspray and water. I never really use a setting pattern, I should really - any suggestions guys?

I start with the front middle section and always do it in the same direction as I try to get a bit of a barrel roll going on. Take a small section of hair and if the hair has gone a bit dry then lightly mist the section with the water. Put the end of the hair on the middle soft part of the curler and roll it down towards the scalp, twisting the ends in together to secure it in place.


After I've done the top center section I then repeat the process down across the sides too. Try to keep the sections of hair as evenly sized as possible.

 Once the sides are done I then finish the pattern down the back of the scalp until it's all done up in the rollers.


When it's all done you should look something like this, not gonna lie, went to bed feeling pretty damn vintage last night.


To top it all off I went to bed in a cheeky slumber cap. I tend thrash about in my sleep so I prefer this to sleeping in a bandana or hair scarf, old lady chic never goes out of fashion and they're really comfy. I bough this from Superdrug for about £1.70.
 

OK so here comes the hard part. The brushing out. I find this really hit and miss, sometimes I love and other times it just doesn't go right. Spoiler alert. This time I ace'd it. Beware, you will look like this when you wake up - don't freak out, just get to work with the brush. And you know I find it hard to not pull a funny face.


I use my big brush for this part. It's really simple so I don't know why I seem to mess it up at times. The trick is to do it in small sections so you can really control the curl. It takes quite a while to get it how you want but be persistent! 


When you've done one side switch over to the next, keep going back and brushing out until you're 100% happy, I seem to go over it at least three times before I get the pomade out. I give the fringe and initial brush out but leave that to the end, it's the hardest part for me. 
 

 But when you do feel happy with your curls dig out the pomade or wax, I use Black and White's. Using a small amount run it through your curls to make them super shiny, smooth and controlled.


 Sometimes after I've used the pomade I have to go through and brush it out a bit more and go over it again. Look how shiny it makes it, it really does make a huge difference.


 Ugh, the fringe. I don't know why it hates me, it just takes me AGES. This is why sometimes I leave it just keep it as a victory roll, it always behaved for them. I have to tease the hell out of it, time and time again, sometimes I have to use dry shampoo to make it backcomb better especially when it's freshly washed. 


 I leave the pomade to the last minute on this bit as it's not so easy to brush out if it messes up, after about 15minutes (because I'm annoying) I'm finally happy with it and secure it in place with a couple of hair grips and finally smooth over a tiny bit of pomade.

 Look! It worked! Shiny, shiny. Then proceed to take many, many pictures and IG all of them, haters gonna hate. Feel epic, go out, look epic, take more pictures.


Filter the crap out of it!

Pin It Now!
Related Posts Plugin for WordPress, Blogger...