

It's no secret that I love holidays which involve baking....which to be fair, in our house..is most of them. But with Halloween you get to be really creative, I love making treats for the kids that come to our door - and I'm quite competitive as you know...I like my treats to be the best! This year was no exception, while I was happy with the ones I made last year, this time I wanted to go even further. We even made an effort with the pumpkin carving this year - Jack Skellington and Mr. Oogie Boogie!

There's going to be a lot of photos just to warn you. I made glittery chocolate skulls, bones and pumpkins, sparkly spooky toffee apples and cake pops.


The chocolates were made from moulds bought from Poundland, the skulls and bones were brilliant as they were silicone ones, the plastic pumpkin ones however were a total nightmare and I may have ended up smashing them in frustration when trying to get the chocolates out. I made them from white, milk and also orange chocolate. The orange chocolate buttons I bought in Tesco and melted easily, had the perfect colour and tasted lovely to boot. I dusted the moulds with cake glitter before pouring in the chocolate which means it stuck to the chocolate rather than everything else it touched.

For the sparkly spooky toffee apples I used the same recipe as last year and decided to make half with a dark green/black colouring to make them like poison apples. Half way through the poison looking ones the sugar crystalised and made the last 4 apples look absolutely horrific!! One was so bad I actually put it in our window on Halloween to scare people! I managed to get 4 apples stage by stage leading up to the scariest of them all.

From right to left
starting to get scary, getting a bit scarier, not really wanting the eat the next one and the last...
well...there are no words for that monstrosity really.
starting to get scary, getting a bit scarier, not really wanting the eat the next one and the last...
well...there are no words for that monstrosity really.
Below - in all its scary glory!

Now for some nicer looking toffee apples, no colouring, just sprinkles and some glitter.

Once set I attempted to add some sprinkles and the drenched them in cake glitter to make them look a bit special - to finish I wrapped them in cellophane bags and tied them with curling ribbon, just like from the carnival. I have to say I think the dark colouring was a mistake - they looked burnt even though they weren't but I managed to palm them off on some poor unexpecting boys.

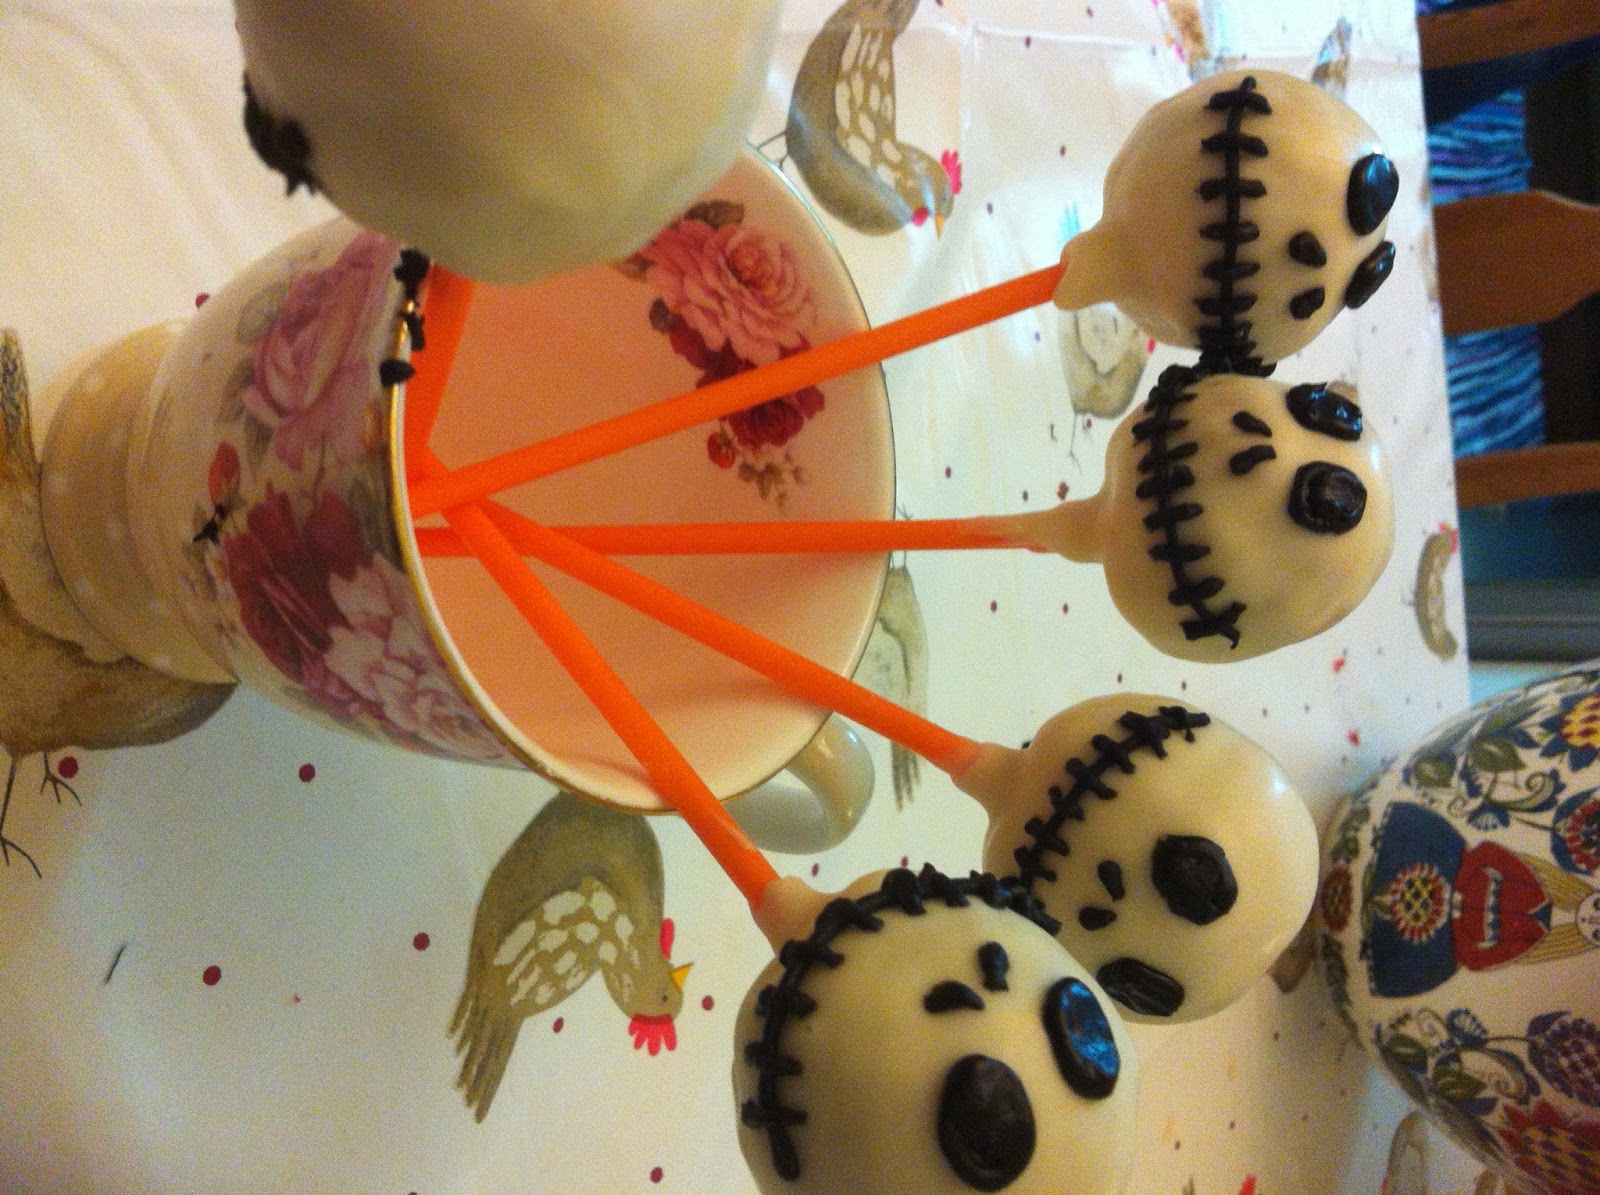
Now for cake pops, possibly my favourite things to make at the moment. For the cake I used some left over red velvet and purple sponge rolled with vanilla buttercream. I decided on four designs - pumpkins, eyeballs, ghosts and Jack Skellingtons. I got a brilliant Halloween theme cake pops set from eBay with orange and black sticks with orange and black twist ties for the bags. They were all dipped in white chocolate, the pumpkins - dyed with orange colouring. The ghosts were easy to decorate with black royal icing as it was only the face but it was hard to keep a ghost shape when inserting the stick...ended up looking like those things in Pac Man but still worked out well.

The pumpkins as I said were dipped in orange coloured chocolate and decorated with black icing and a green fondant stalk - it was quite fun actually giving the all different faces. Next came the eyeballs, these again were fairly easy, using green fondant and red and black royal icing - a lot of people weren't sure about these for some reason...it's not like they're real eyes or anything! I have the say, the Jack Skellington ones were my personal favourites, the only issue was that I couldn't find my tiniest piping nozzle - my baking room is a mess! So I had to use a bigger one so it's not as fine as it should have been.

I did buy a couple of bags of regular Halloween sweets to go with everything else, I made little goody bags containing one cake pop, a couple of chocolates and a few of the bought sweets. All in all, with the toffee apples I had about 40 items to give away. I ran out in 40 minutes last year so I doubled my loot! What was really nice was that my niece came to help me share them out, dressed in her best cat costume she even got a few goodies to herself!


Had a go with face paint for a two-faced effect, my niece wasn't quite sure if she liked it or not!

Pin It Now!


