Showing posts with label piping. Show all posts

Monday, 10 February 2014

Baby Shower - My Niece Is Nearly Here!


At the end of the month I will (hopefully) become an auntie again. I really hope it's soon as A) I can't wait to meet her! And B) I'm going to Memphis/New Orleans and Mexico in three weeks so I really don't want to miss it.


A baby on the way means of course, a baby shower, and no baby shower would be complete without a cake would it? So I couldn't resist offering to take on the task. Luckily I just happen to know to mother-to-be pretty well...so I had a few ideas up my sleeve. I also did their wedding cake so I couldn't wait to continue the milestone baking.

They're expecting a little girl, and I may have already gotten a little carried away with buying cupcake babygrows and teeny tiny skinny jeans with hearts on.

When they got married, they did it in Lyme and it's really special to them so I wanted to represent it some way in the cake. So I thought the perfect idea would be to use beach huts on the bottom tier, for the top I also saw some quite washing line baby shower cakes with little fondant clothes hung up like bunting which was almost too cute to not do.


The cake was a two tier, Victoria sponge with raspberry jam and vanilla buttercream. I decided to keep the colours pastel with pink, mint and blues. I thought that the beach huts would be nice on the bottom on a blue background with some piped seagulls. I used Ice Blue, Sugarflair colouring for the base. I rolled out one beach hut and kept it as a template for the others. To get the wood panel effect I just used the back of a knife to make the indents. Giving them a white roof and door they were complete, simple and cute.

To give the top tier a bit more colour I added pink fondant strips and dotted holes down the side to give it a stitched fabric look. I thought these would also be good anchor points for the washing lines to hang off. Using some of the beach hut fondant, I let them dry a little and cut out cute little baby clothes positioning them along the line.


To finish each tier I tied a polka dot ribbon and added a bow to the font. Luckily the mother-to-be loved the cake and the personal touches and the whole baby shower was a triumph! There were lots of presents, everyone brought a dish and she didn't suspect a thing right until we shouted 'Surprise!' so all in all a massive success!


Pin It Now!

Friday, 21 December 2012

Gingerbread Cookie Tree

You know Christmas is coming when you start planning gingerbread structures, I will be making a house of course but first I thought I'd try something different - a cookie tree!


I've seen a lot of these over the last couple of years and have been dying to make one so was super excited to see a set in The Works for only £2.99, a set made up of a set of star cutters, hole cutter and two different height stands depending on how tall you want it.

Using the recipe below we made up about 4-8 of each size of star to get it as tall as possible, cutting a hole in each one before baking. Once baked I set them aside for icing, I made up a huge batch of green royal icing for piping and filled a huge icing bag up.


I iced each star with green, stacking more on top and it soon filled up the biggest stand. I kept aside a star for the top and painted it with gold edible paint and dusted it in cake glitter. For tree decorations I added sugar snowflakes, purple coated chocolates, mini candy canes and even more red and gold glitter...you can never really have enough anyway!

I have to say I was surprisingly pleased with how it turned out as I wasn't really sure what I was going to be doing with in on the decoration side, I seem to do my best stuff when winging it. We had a little bake off at work for Christmas and it fitted very nicely into the festive theme...keep posted for the gingerbread house I'm decorating tomorrow!

Gingerbread Recipe:


250g butter
125 golden syrup
150ml double cream
250g icing sugar
400g plain flour
2 tsp cinnamon
1/2 tsp ground gloves
1/2 tsp pepper

You need to add more spices to taste.

Heat butter, golden syrup, double cream and icing sugar in a saucepan. Leave the mixture to cool and stir in the rest of the ingredients. Knead the dough well and roll out, cut out star shaped pieces, make the holes and bake on 175 degrees (165 fan) for 10-12 min. Pin It Now!

Saturday, 11 August 2012

Minnie Mouse Cake Pops and Mickey & Minnie Cookies

I seem to go through waves on cake, sometimes I don't make any for a month (not many times, granted) and then suddenly I'll have three in a week - like this week. As long as I plan it right it's fine, and after a little initial panic it's all fine. So this post is about the first batch, which thrills me to say are cake pops and cookies!


I think cakes and treats for children's birthdays might just be my favourite, there's so much you can do with them it's great. These were for a surprise birthday party for a little girl who loved Minnie Mouse, so of course Minnie Mouse cake pops they just had to be! I was also asked for some cookies with Mickey and Minnie on them for the party bags.


OK the cake pops, these weren't as easy as I'd hoped. I couldn't imagine being able to actually make her face, not nicely anyway! So rice paper came to the rescue and it worked brilliantly. The cake itself is red velvet mixed with vanilla buttercream and rolled into balls, and the ears are actually chocolate buttons stuck on with some melted chocolate. This bit was quite tricky and took me forever but so worth it. Once set I then dipped them in chocolate, I did try to make it black but it just started to crumble so decided to play it safe with chocolate, must research more into how to do it without ruining the chocolate. Luckily they turned out really cute in chocolate so all was well. I always think dipped but undecorated cake pops look really sinister, anyone else?


For the faces I made up some ivory royal icing to match Minnie's face and then stuck the rice paper cut out faces on, making the icing bigger than the face so it stood out more. Once all of the icing had set I put on their gift bags and red ties and they were ready to go!


Now the cookies, I used the sugar cookie recipe from Butter Hearts Sugar (brilliant blog) it's brilliant for when you need to decorate the cookies and bakes really well. I made star cookies with 'Mickey' on and heart cookies with 'Minnie' on and then added red fondant stars and hearts. The actual lettering was piped in the Disney font too just to give it that extra bit of detail :) When set I then placed them in their own gift bags with red ribbon all ready for the party.


I definitely seem to be doing a lot of cake pops and giant cupcakes lately, and I have to say I love it!

Nom! Pin It Now!

Wednesday, 11 July 2012

A Very Hello Kitty 5th Birthday

Next week marks my niece's birthday, I can't believe she's five already! I can still remember getting the phone call in the middle of the night to announce her birth, I was in Southampton at uni at the time and we all got up for an hour too excited to see oo-ing and ahh-ing over the photos they'd just sent over on our phones.


I love being an aunty, she's so clever (I know I'm biased - but she is!) and she's so funny as well. We loving baking together, it's a good thing the girl likes cake with me around! Cake pops don't last long around her that's for sure. Unfortunately we won't be able to go to her party this weekend as we're away on holiday, but I did manage to make her a cake and cake pops for it.

Last year she was all about Snow White, this year however she's been sent back to the cottage with the dwarves - sorry Snow White, there's a new girl in town.....Hello Kitty! So there was no question really about what her cake should be. I always like to go one better though - so she got some cake pops as well :), I have actually made these cake pops before but she didn't see them so they definitely needed to make a reappearance.

For the cake I made a big vanilla cake iced with pink (of course) vanilla buttercream. The fondant was coloured with Claret Sugarflair colouring paste and Hello Kitty herself was made from a stencil, I love my stencils. I printed out a few sheets of an outline drawing of her and cut out all of the pieces I wanted to make. I layered up the colours keeping her whole white body as a base and laying on the red top, flower and bow etc. I'm actually really happy with how she turned out...I do tend to end up as the 'angry baker' as people call me when I'm decorating - I was a little stressed at times... but overall I'm really happy with her.


For her name, top and bow I used Christmas Red colouring paste which just felt wrong in July and the flowers, butterflies and other top I used lilac concentrate colouring, varying strengths which went really nice with the reds and pinks.

Now moving onto the cake pops, using vanilla cake I crumbled it all up and mixed it with vanilla buttercream and rolled it into little Hello Kitty head shapes. After leaving them to cool I dipped them in white chocolate and then piped on the face details and bow. They're so easy to make and look brilliant...what's more they taste epic!


I can't wait to see photos of my niece blowing out her candles and enjoying her party and cake... have a happy birthday Sophie Chops!! Pin It Now!

Tuesday, 8 May 2012

Pink and Ivory 30th Birthday Cake

As I said in my last post this weekend was my sister-in-laws birthday, so of course she got a cake! I've been so busy lately I've not been able to make many so it's nice to have time to actually do a proper cake.

I love making two tier cakes, they're great to give as presents and you can have lots of fun decorating them. I recently bought a textured rolling pin I've been wanting to try out, you'll see this soon on a Baking Buys post. I managed to get my hands on some ivory fondant, I do have ivory colouring paste that I could have used, but if I see it I usually try to pick some up it looks quite pretty next to pink. Which of course is the other main colour, I've become quite obsessed with this colour combo, if you haven't noticed. As this was going down the girly route I thought I'd make it extra girly by adding some cameos. They can be a bit of a pain as i only have one mould at the moment but my new favourite shop Sew White has informed me they will be stocking them soon so hopefully the process will speed up some!

So for both tiers I rolled out the fondant and used the rolling pin to make the spiral patterns, I've learnt that you need to press fairly firmly or the pattern smooths out a bit when you smooth it on the cake, and don't try to roll backwards afterwards or it'll all be destroyed!!


For the bottom I cut out some pink hearts and using white royal incing piped pearls around the edge and the letter 'L' in the middle for her name, Lindsay. For extra detail I made strips of fondant ribbon in between the hearts and made a pink fondant bow the night before so it could dry and not fall to pieces, think I'm starting to get the hang of these bows now!

For the top tier I again cut pink fondant hearts and made a pink and white cameo inside. Again piping pearls around the cameo to add a bit more definition, I love how sweet and detailed they look! I think the spiral patterned fondant looks really nice and effective against the pink and finishing with the gold ribbon around the bottom of each tier really topped it off I think giving it quite a vintage look.

The cake went down really well after a night of drinking, as you can see it ended up covered in streamers from party poppers and devoured over the next two days, nom indeed! I also have to give credit to my mum for the actual baking of the cake as I was too busy she helped me out one afternoon , we're quite a good team!

Nom! Pin It Now!

Saturday, 17 March 2012

Red Velvet Wedding Cake Pops

While the sun hasn't exactly been shining this week you can't deny that Spring is finally here, our garden's full of tulips and daffodils and the wedding season seems to have kicked in, everyone's getting hitched at the moment which to me, only means one thing...cake!
(by the way, there's going to be a lot of photos, sorry!)


I love how weddings are no longer a normal iced fruit cake with flowers, they're cupcakes, sweet tables, croquembouches and even cake pops! The worst thing you could do according to most people I've spoken to is to give them a slab of fruit cake...present them with a cupcake or cake pop however, it's exciting and you have an individual treat just for you. The last wedding I did cakes for was a tower and table full of cupcakes and I loved that idea, so when I was asked to make some cake pops I immediately accepted the challenge!


The actual cake for weddings at the moment seems to be red velvet, which I have to say is a favourite of mine so I was stupidly happy when this order for 50 red velvet cake pops came in. The theme was pink, white and girly, which seems to be my most popular theme of late.


They had requested pink and white cake pops with piping detail, half pink with white piping and half white with pink piping. I made the biggest red velvet cake I had ever had in my own, while a lot of people don't like the next part, I absolutely love smashing up the cake and turning it to crumbs! I was having a stressful day so smash up a cake was a great release, also you have to smash it up to make the cake pops so it had to be done anyway... :D


It seems most people use Candy Melts for cake pops, I never have. I find the normal cake covering chocolate works just as well, I always get white chocolate so I can colour it easily. So after I had mixed the cake crumbs with buttercream and rolled them into balls and chilled, I dipped them in chocolate (half coloured with pink food colouring) and left them to cool. I made my own cooling stand by poking holes through some polystyrene for the cake pops to sit in. Free and effective! I used another big piece for the actual display stand as I didn't have one. I wrapped in pearly wedding paper and patterned cellophane and tied it all up with a cute pink bow. I will soon be asking my brother to make me a proper one as he's good at all that stuff.


For the piping I used royal icing, again some coloured with pink and I have to say it took me hours!! I even took on the famous piping claw hand that I've heard so much about and saw on Choccywoccydoodah. I did a few different designs, swirls, hearts, bow and polka dots. I wrapped each one individually with a little cellophane treat bag and silver tie which I bought in a pack from eBay, love that place they get all of my money!


I think they came out seriously cute and perfect for a wedding, I had to fight my family off from eating them so I hope they enjoy them!

P.s, do you like how I transported them? Never driven so carefully in my life - need a 'Cake On Board' sign!


Pin It Now!

Saturday, 18 February 2012

Purple Butterfly Birthday Cake - My 100th Post!

This is my 100th blog post! Yay, can't believe it's come so far :) Thanks to all of my followers and readers!

This weekend we're celebrating my sister-in-law's mum's birthday, and of course as you all know EVERYONE in my family gets a cake! I don't think she knows she's getting one yet...so hopefully it will be a nice surprise.


One great thing about doing cakes for family is that I get to try out new techniques and new looks without the pressure of mucking it up! As most of my family cakes I do I kind of make it up as I go, I should start sketching out some ideas beforehand I guess.


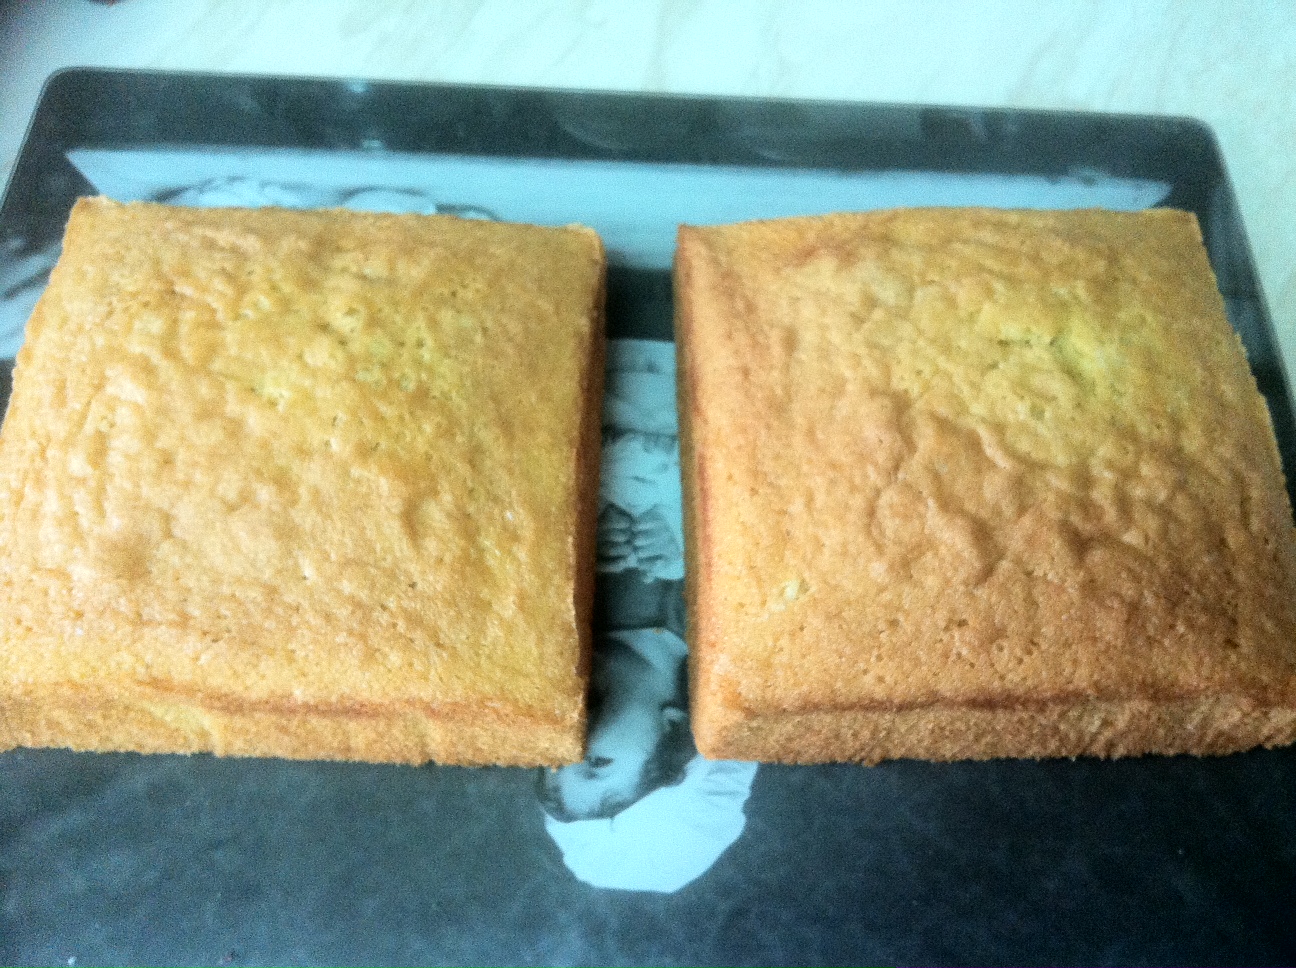
For this cake I got to use my new expandable cake tin I got for Christmas which I love. The next cake to make with this I think has to be a battenburg. I will admit I found it difficult to put together at the beginning and it was a bit of a pain to line...but then again lining tins is the most boring thing in the world to me so I guess it's not surprising that I didn't enjoy that part. But the actual method of baking two cakes exactly the same in the same tin was brilliant and will make future square cakes a lot easier.


I made a vanilla sponge cake with rum buttercream (she loves rum), I did think about making it three layers but thought that might be a little too high. I went with the purple and white theme, I do so many pink cakes I thought purple would be a little different and she's not a ridiculous lover of pink so this kept it pretty but not overwhelming.


I love piping, and want to pipe like Cake Boss! So I need to get lots more practice in and I think it came out really cute, I did have open one of my Wilton Yearbook's for inspiration on the pattern which actually came from a wedding cake picture.


The detail on the top is the same, I added some fondant lilac butterflies to give some extra cuteness and to frame the top as it would look a bit empty otherwise. Now for the cupcake I actually completely stole this idea from The More Than Occasional Baker and I absolutely love it, they're actually meant to be gift boxes topped with meringues but I decided to make a plain chocolate case by brushing LOTS of chocolate into the inside of a silicone cupcake case, leaving it too cool in the fridge a few times in between layers. Instead of making it a box I filled and topped it with the rum buttercream and added a couple of purple fondant butterflies. I also piped on white bows round the cupcake case to make a cute pattern.


I love the idea of having a cupcake on the top of another cake...and nothing in the world is better than chocolate and buttercream...

I have to say, and I know I say this almost every time....but I do think this might be the cutest cake I've made so far...

Nom! Pin It Now!

Friday, 9 December 2011

Gingerbread Baubles

Sorry I've left it a while posting..I've been sick! I've been ill one other time this year which must be a record for me, so I've been feeling quite sorry for myself and even had to leave work in a taxi as I was feeling so bad!! After dying in bed for a day and a half I finally managed to drag myself out of bed to help my mum put up the Christmas decorations. For the last couple of years now we've been having a real tree at home which I love, I know they're a little pricey but I think it's worth it for Christmas.


As I've not been well I haven't been able to bake anything.  It's gingerbread season in our house at the moment, I will put up recipes soon but at the moment I've just been watching it all happen. However the last couple of days I've felt better so I could decorate. I love gingerbread tree decorations, especially Peggy Porschen ones in her Cake Chick book.


 We have a very traditional Christmas look...reds, greens, gingham etc. So I decided to keep this batch of gingerbread baubles in white and red. I only did 6 or 7 as we already have so much on our tree I didn't want to go too crazy.


We've made lots of gingerbread shapes but mainly plain circles or hearts for the baubles. To decorate I used a base of white royal icing and for the detail I used Wilton Red Icing in a tube that I got for mini Christmas in my stocking (will explain all in another post!) which was good so I didn't need to mix an extra batch. I attached a nozzle with the tiniest hole I could find and piped on some detail I shamelessly copied from the book. I also added some siver balls...you can't have Christmas treats without silver balls right? Let them dry and threaded some wrapping ribbon through the holes in the gingerbread and hung them up!


I'm not sure which design I like the most...I think it's the one with the silver balls cascading down the baubles. I think these would look great in funkier colours like purple and maybe even teal? You can do so much with them even write names...I might have to have another go :)

Keep posted for many more Christmas baking recipes, the gingerbread recipe will hopefully follow tomorrow, it made so much we also managed to make three individual gingerbread houses along with the millions of biscuits and tree decorations. These will also tie in with my seven kinds of Christmas biscuit tradition, now I also have to decide which other six to make. I have to say while you all know I love baking...baking at Christmas is far better, stick some festive and cheesy music on, gingham apron tied and I'm literally in my element and I intend to be covered in some form of batter and flour for the next few weeks! Pin It Now!
Related Posts Plugin for WordPress, Blogger...