Last week as I said was cake week, so I couldn't go too long without mentioning this one. An order for my best friend's co-worker, the brief was...Hawaii! This was to be a 50th birthday cake so it had to be special. I hadn't done a cake like this before so I was looking forward to the challenge, especially as she'd asked for a hula girl and I don't have a lot of experience in making figures but I had to give it a go, and I'm really happy with how she turned out!
The cake itself is a classic Victoria sponge mix sandwiched with vanilla buttercream. The design she'd asked for was a beach/ocean scene, hula girl, palm tree and flowers etc. The beach was easy, it just had to be crushed biscuits (malted milks to be exact), although the only problem with this is that it is of course difficult to get any kind of decoration to actually stick to biscuit so everything has to be held in place with cocktail sticks.
The ocean was made with blue vanilla buttercream and also plain buttercream for the tips of the waves. Marbleling them together leaving the white bit at the top really helped in making them look realistic.
Now for the hard bit, the hula girl. I've always used fondant before, but it takes ages to dry and if too big, sags under the weight. So this time I used Wilton gumpase, it was brilliant! I was even able to use Sugarflair food colouring paste to create all the colours I needed. I did use fondant for her hair and coconut bra but everything else was made from coloured gum paste. For an extra girly touch I added eyelashes with an icing pen. The palm tree was also gumpase, I had to leave the 'trunk overnight at an angle so that it would set in a palm tree fashion :D. The leaves were made by using a leaf cutter, I then rolled it out a bit more to make it longer and let them dry on colouring paste tubs and fixed them on the trunk with royal icing. As it was a for a 50th birthday I made a pink fondant "50" in a curly font and placed it in the middle of the ocean.
For the last bit of decoration I made what felt like a million gumpaste flowers, as they were meant to be Hawaiian flowers I made them white with pink edged (done with petal dust), blue, pink, purple and orange, all with a yellow royal icing middle. I made these with my cherry blossom mould I used on my brother's wedding cake, this meant I could do them super fast without having to worry bout sculpting each one. I laid these round the bottom of the cake and also some smaller ones on the figures for extra detail.
Stepping back I was really happy with this cake, as I said with the biscuit - it was a bit difficult to make the flowers stick to it, but I can't think of a better way of making realistic sand. Delivering it was pretty scary, she hula'd all the way there! But as she was stuck down with a cocktail stick she wasn't going anywhere! And now summer has finally come, who doesn't love a beach cake?
Pin It Now!
Showing posts with label Wilton. Show all posts
Saturday, 18 August 2012
Wednesday, 7 March 2012
CMYK Mimeo Cupcakes
This week I was given a fun task by my work, so make some cakes for the launch UK Docs for Mimeo for all of the staff. Me and another lady were asked, I guess we're known for making the most cake! They needed to feed about 140 people, we decided on a big slab cake to feed 60 (which was nearly all eaten before I thought of getting a picture) and cupcakes, we reckoned on doing 70 cupcakes but threw in an extra ten in the end.
The obvious choice was to go for the Mimeo logo which feature CMYK, meaning the print colours Cyan, Magenta, Yellow and Key (black). I was a bit worried about how strong the colours would turn out as if they're representing print colours then I wanted them to be perfect.
Black icing can be a bit harsh so we had the great idea of using black muffin cases. I divided the cupcakes in three and do one batch of cyan, magenta and yellow. I got the cases from my local cake supply shop Sugar Daddy's in St Neots, it's like a treasure trove I love it. I also managed to pick up an Ice Blue Sugarflair paste for the cyan and some icing whitener which I thought could help the magenta brighten up.
For the sponge I made the Vanilla Cupcakes recipe from Hummingbird Bakery's Cake Days book, which is now my new standard cupcake recipe. I made the cyan batch of icing first, it took more colouring than I imagined as blue normally colours up extremely strong and always seems to develop after mixed so I'm really happy with how vibrant they turned out. The yellow was easy, coloured with Melon sugarflair paste.
I left magenta for last as I find getting really bright pink colouring difficult. I used some of the icing whitener first which is really strange. You add some powder to a small amount of water so it turns into a paint like substance and add it in a bit at a time. I wasn't brave enough to make it completely white but it definitely lightened it a lot. I'd seen some liquid colouring in Tesco made by Silver Spoon. It's thicker than the normal liquid ones so I had more faith looking at the colour chart on the box that it would work better. It definitely worked better than the other pink I've tried but I'm sure I was mixing it for about 20 minutes (my poor mixer) but everyone commented on how lovely and light the icing was so it did it some good! I used about a bottle and a half of this colouring in a big batch of icing and I couldn't get the colour any stronger than what you see here so don't get the Pantone chart out it will never be magenta!
I seem to be favouring the Wilton 1M Wilton rose swirl nozzle, but I think it looks so nice it'll be my first choice for a while. I set them up on my clear cupcake tower which luckily held all of them and really represented the colours of Mimeo. The cupcakes didn't last more than a couple of hours and I got some really nice comments on how light and tasty they were and that's all you can ask for really.
Pin It Now!
The obvious choice was to go for the Mimeo logo which feature CMYK, meaning the print colours Cyan, Magenta, Yellow and Key (black). I was a bit worried about how strong the colours would turn out as if they're representing print colours then I wanted them to be perfect.
Black icing can be a bit harsh so we had the great idea of using black muffin cases. I divided the cupcakes in three and do one batch of cyan, magenta and yellow. I got the cases from my local cake supply shop Sugar Daddy's in St Neots, it's like a treasure trove I love it. I also managed to pick up an Ice Blue Sugarflair paste for the cyan and some icing whitener which I thought could help the magenta brighten up.
For the sponge I made the Vanilla Cupcakes recipe from Hummingbird Bakery's Cake Days book, which is now my new standard cupcake recipe. I made the cyan batch of icing first, it took more colouring than I imagined as blue normally colours up extremely strong and always seems to develop after mixed so I'm really happy with how vibrant they turned out. The yellow was easy, coloured with Melon sugarflair paste.
I left magenta for last as I find getting really bright pink colouring difficult. I used some of the icing whitener first which is really strange. You add some powder to a small amount of water so it turns into a paint like substance and add it in a bit at a time. I wasn't brave enough to make it completely white but it definitely lightened it a lot. I'd seen some liquid colouring in Tesco made by Silver Spoon. It's thicker than the normal liquid ones so I had more faith looking at the colour chart on the box that it would work better. It definitely worked better than the other pink I've tried but I'm sure I was mixing it for about 20 minutes (my poor mixer) but everyone commented on how lovely and light the icing was so it did it some good! I used about a bottle and a half of this colouring in a big batch of icing and I couldn't get the colour any stronger than what you see here so don't get the Pantone chart out it will never be magenta!
I seem to be favouring the Wilton 1M Wilton rose swirl nozzle, but I think it looks so nice it'll be my first choice for a while. I set them up on my clear cupcake tower which luckily held all of them and really represented the colours of Mimeo. The cupcakes didn't last more than a couple of hours and I got some really nice comments on how light and tasty they were and that's all you can ask for really.
Pin It Now!
Saturday, 18 February 2012
Purple Butterfly Birthday Cake - My 100th Post!
This is my 100th blog post! Yay, can't believe it's come so far :) Thanks to all of my followers and readers!
This weekend we're celebrating my sister-in-law's mum's birthday, and of course as you all know EVERYONE in my family gets a cake! I don't think she knows she's getting one yet...so hopefully it will be a nice surprise.
One great thing about doing cakes for family is that I get to try out new techniques and new looks without the pressure of mucking it up! As most of my family cakes I do I kind of make it up as I go, I should start sketching out some ideas beforehand I guess.
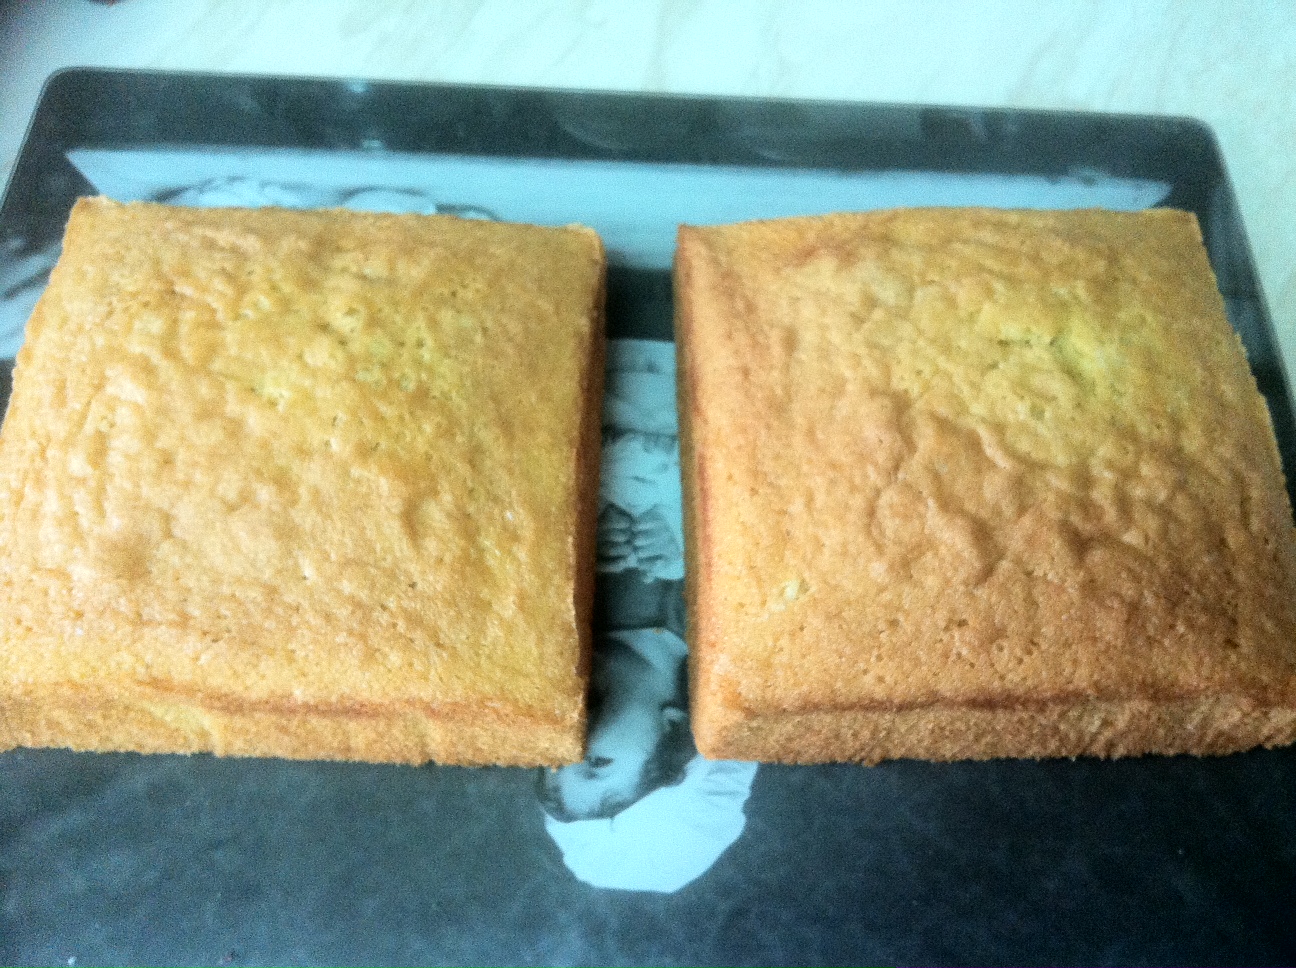
For this cake I got to use my new expandable cake tin I got for Christmas which I love. The next cake to make with this I think has to be a battenburg. I will admit I found it difficult to put together at the beginning and it was a bit of a pain to line...but then again lining tins is the most boring thing in the world to me so I guess it's not surprising that I didn't enjoy that part. But the actual method of baking two cakes exactly the same in the same tin was brilliant and will make future square cakes a lot easier.
I made a vanilla sponge cake with rum buttercream (she loves rum), I did think about making it three layers but thought that might be a little too high. I went with the purple and white theme, I do so many pink cakes I thought purple would be a little different and she's not a ridiculous lover of pink so this kept it pretty but not overwhelming.
I love piping, and want to pipe like Cake Boss! So I need to get lots more practice in and I think it came out really cute, I did have open one of my Wilton Yearbook's for inspiration on the pattern which actually came from a wedding cake picture.
The detail on the top is the same, I added some fondant lilac butterflies to give some extra cuteness and to frame the top as it would look a bit empty otherwise. Now for the cupcake I actually completely stole this idea from The More Than Occasional Baker and I absolutely love it, they're actually meant to be gift boxes topped with meringues but I decided to make a plain chocolate case by brushing LOTS of chocolate into the inside of a silicone cupcake case, leaving it too cool in the fridge a few times in between layers. Instead of making it a box I filled and topped it with the rum buttercream and added a couple of purple fondant butterflies. I also piped on white bows round the cupcake case to make a cute pattern.
I love the idea of having a cupcake on the top of another cake...and nothing in the world is better than chocolate and buttercream...
I have to say, and I know I say this almost every time....but I do think this might be the cutest cake I've made so far...
Nom! Pin It Now!
This weekend we're celebrating my sister-in-law's mum's birthday, and of course as you all know EVERYONE in my family gets a cake! I don't think she knows she's getting one yet...so hopefully it will be a nice surprise.
One great thing about doing cakes for family is that I get to try out new techniques and new looks without the pressure of mucking it up! As most of my family cakes I do I kind of make it up as I go, I should start sketching out some ideas beforehand I guess.
For this cake I got to use my new expandable cake tin I got for Christmas which I love. The next cake to make with this I think has to be a battenburg. I will admit I found it difficult to put together at the beginning and it was a bit of a pain to line...but then again lining tins is the most boring thing in the world to me so I guess it's not surprising that I didn't enjoy that part. But the actual method of baking two cakes exactly the same in the same tin was brilliant and will make future square cakes a lot easier.
I made a vanilla sponge cake with rum buttercream (she loves rum), I did think about making it three layers but thought that might be a little too high. I went with the purple and white theme, I do so many pink cakes I thought purple would be a little different and she's not a ridiculous lover of pink so this kept it pretty but not overwhelming.
I love piping, and want to pipe like Cake Boss! So I need to get lots more practice in and I think it came out really cute, I did have open one of my Wilton Yearbook's for inspiration on the pattern which actually came from a wedding cake picture.
The detail on the top is the same, I added some fondant lilac butterflies to give some extra cuteness and to frame the top as it would look a bit empty otherwise. Now for the cupcake I actually completely stole this idea from The More Than Occasional Baker and I absolutely love it, they're actually meant to be gift boxes topped with meringues but I decided to make a plain chocolate case by brushing LOTS of chocolate into the inside of a silicone cupcake case, leaving it too cool in the fridge a few times in between layers. Instead of making it a box I filled and topped it with the rum buttercream and added a couple of purple fondant butterflies. I also piped on white bows round the cupcake case to make a cute pattern.
I love the idea of having a cupcake on the top of another cake...and nothing in the world is better than chocolate and buttercream...
I have to say, and I know I say this almost every time....but I do think this might be the cutest cake I've made so far...
Nom! Pin It Now!
Friday, 9 December 2011
Gingerbread Baubles
Sorry I've left it a while posting..I've been sick! I've been ill one other time this year which must be a record for me, so I've been feeling quite sorry for myself and even had to leave work in a taxi as I was feeling so bad!! After dying in bed for a day and a half I finally managed to drag myself out of bed to help my mum put up the Christmas decorations. For the last couple of years now we've been having a real tree at home which I love, I know they're a little pricey but I think it's worth it for Christmas.
We have a very traditional Christmas look...reds, greens, gingham etc. So I decided to keep this batch of gingerbread baubles in white and red. I only did 6 or 7 as we already have so much on our tree I didn't want to go too crazy.
We've made lots of gingerbread shapes but mainly plain circles or hearts for the baubles. To decorate I used a base of white royal icing and for the detail I used Wilton Red Icing in a tube that I got for mini Christmas in my stocking (will explain all in another post!) which was good so I didn't need to mix an extra batch. I attached a nozzle with the tiniest hole I could find and piped on some detail I shamelessly copied from the book. I also added some siver balls...you can't have Christmas treats without silver balls right? Let them dry and threaded some wrapping ribbon through the holes in the gingerbread and hung them up!
I'm not sure which design I like the most...I think it's the one with the silver balls cascading down the baubles. I think these would look great in funkier colours like purple and maybe even teal? You can do so much with them even write names...I might have to have another go :)
Keep posted for many more Christmas baking recipes, the gingerbread recipe will hopefully follow tomorrow, it made so much we also managed to make three individual gingerbread houses along with the millions of biscuits and tree decorations. These will also tie in with my seven kinds of Christmas biscuit tradition, now I also have to decide which other six to make. I have to say while you all know I love baking...baking at Christmas is far better, stick some festive and cheesy music on, gingham apron tied and I'm literally in my element and I intend to be covered in some form of batter and flour for the next few weeks! Pin It Now!
As I've not been well I haven't been able to bake anything. It's
gingerbread season in our house at the moment, I will put up recipes
soon but at the moment I've just been watching it all happen. However
the last couple of days I've felt better so I could decorate. I love
gingerbread tree decorations, especially Peggy Porschen ones in her Cake
Chick book.
We have a very traditional Christmas look...reds, greens, gingham etc. So I decided to keep this batch of gingerbread baubles in white and red. I only did 6 or 7 as we already have so much on our tree I didn't want to go too crazy.
We've made lots of gingerbread shapes but mainly plain circles or hearts for the baubles. To decorate I used a base of white royal icing and for the detail I used Wilton Red Icing in a tube that I got for mini Christmas in my stocking (will explain all in another post!) which was good so I didn't need to mix an extra batch. I attached a nozzle with the tiniest hole I could find and piped on some detail I shamelessly copied from the book. I also added some siver balls...you can't have Christmas treats without silver balls right? Let them dry and threaded some wrapping ribbon through the holes in the gingerbread and hung them up!
I'm not sure which design I like the most...I think it's the one with the silver balls cascading down the baubles. I think these would look great in funkier colours like purple and maybe even teal? You can do so much with them even write names...I might have to have another go :)
Keep posted for many more Christmas baking recipes, the gingerbread recipe will hopefully follow tomorrow, it made so much we also managed to make three individual gingerbread houses along with the millions of biscuits and tree decorations. These will also tie in with my seven kinds of Christmas biscuit tradition, now I also have to decide which other six to make. I have to say while you all know I love baking...baking at Christmas is far better, stick some festive and cheesy music on, gingham apron tied and I'm literally in my element and I intend to be covered in some form of batter and flour for the next few weeks! Pin It Now!
Friday, 4 November 2011
Girly Cameo Giant Cupcake
Yesterday was my future sister-in-law's birthday, and of course she had to have a cake! Last year I made her a sushi cake, it was OK but I was till newish to it and wanted to make something better.
The girly theme is everywhere at the moment so I thought why not, I knew she'd like it it's so pretty!
I love using cameos on cakes, the last one I did was the birthday cake to one of my best friends at the start of this year. I loved making this cake and couldn't wait to make something similar. This is a smaller version but just as cute!
The bottom I used the quilting technique, I love this it makes it look like an expensive bag and gives the bottom some really nice detail when sometimes it can look a little plain. I also didn't have any ribbon in the right colour so I thought this would make it a bit more special looking. I do sometimes add silver balls where the quilting overlaps but I though it might look a bit busy on a smaller cake.
Using my Wilton moulds I added a fondant bow in the same colour as the border to the cameos rather than leaving the bottom plain.
The top was iced with pink buttercream and topped with the cameos. To make the cameos I used a silicone mold I got from eBay, pushed fondant into it and put it in the freezer for ten minutes unti I could pop it out. This time I cut around the actual cameo rather than leaving the background of it white. I placed it on a pink fondant circular base and wrapped a thin sausage of brown fondant around it and finished each off with a bow. I got this idea from a Peggy Porschen book called Cake Chic.
I kept it quite simple and it ended up looking like it had little pieces of jewelry on it. I actually love it so much I'd be happy to get a cake like this, that's how I know I'm proud of a cake, if I'd be happy receiving it, and I'm a perfectionist!
I seem to be doing a lot of the pink/white combination at the moment. You just can't go wrong with girly cakes :) Pin It Now!
The girly theme is everywhere at the moment so I thought why not, I knew she'd like it it's so pretty!
I love using cameos on cakes, the last one I did was the birthday cake to one of my best friends at the start of this year. I loved making this cake and couldn't wait to make something similar. This is a smaller version but just as cute!
The bottom I used the quilting technique, I love this it makes it look like an expensive bag and gives the bottom some really nice detail when sometimes it can look a little plain. I also didn't have any ribbon in the right colour so I thought this would make it a bit more special looking. I do sometimes add silver balls where the quilting overlaps but I though it might look a bit busy on a smaller cake.
Using my Wilton moulds I added a fondant bow in the same colour as the border to the cameos rather than leaving the bottom plain.
The top was iced with pink buttercream and topped with the cameos. To make the cameos I used a silicone mold I got from eBay, pushed fondant into it and put it in the freezer for ten minutes unti I could pop it out. This time I cut around the actual cameo rather than leaving the background of it white. I placed it on a pink fondant circular base and wrapped a thin sausage of brown fondant around it and finished each off with a bow. I got this idea from a Peggy Porschen book called Cake Chic.
I kept it quite simple and it ended up looking like it had little pieces of jewelry on it. I actually love it so much I'd be happy to get a cake like this, that's how I know I'm proud of a cake, if I'd be happy receiving it, and I'm a perfectionist!
I seem to be doing a lot of the pink/white combination at the moment. You just can't go wrong with girly cakes :) Pin It Now!
Friday, 20 May 2011
Lavender And White Two Tier Birthday Cake
It was one of my best friends birthdays recently, and as I couldn't be there for her birthday I decided to whip her up a little birthday cake.
I had some new cake decorating gizmos from a great cake decorating shop in Oslo when I was visiting called 'Cacas'. It was my haven, an official supplier of Wilton it was filled with everything you could ever want to decorate with, it's just a shame it all cost a fortune!
I usually do the big pink cakes, so I thought I would do her something different, a victoria sponge cake, made up of two layers, one being pink and the other lilac so there was a little surprise when you cut into it.
I covered it in lavender coloured fondant and decorated it in plain white for a classic look. For the decorations I used this Wilton mould where all you had to do is push the fondant into the moulds and lift them out, the trick to this is to dust it in icing sugar first so it will come out clean.
This mould came with ribbon and button designs which is the type I use the most so it's worth the crazy import rate.
The lettering on the front spells 'cheeky', this may seem odd, but it's kind of a catchphrase around here, and they named their new place 'cheeky towers' so it fit quite well. I also piped peals around the seam of the bottom tier to top it off and complete the look.
For an added extra bit of detail I used the brownie stencils I also bought in Cacas, and spread icing over them, lifted of the stencil and was left with a pretty pattern that took no time but looked cute and tied in the colours. I love this cake because it's sleek looking, really pretty colours and was girly without going too pink for once, and of course, it was very cheeky... Pin It Now!
Subscribe to:
Posts (Atom)