Saturday, 18 February 2012

Purple Butterfly Birthday Cake - My 100th Post!

This is my 100th blog post! Yay, can't believe it's come so far :) Thanks to all of my followers and readers!

This weekend we're celebrating my sister-in-law's mum's birthday, and of course as you all know EVERYONE in my family gets a cake! I don't think she knows she's getting one yet...so hopefully it will be a nice surprise.


One great thing about doing cakes for family is that I get to try out new techniques and new looks without the pressure of mucking it up! As most of my family cakes I do I kind of make it up as I go, I should start sketching out some ideas beforehand I guess.


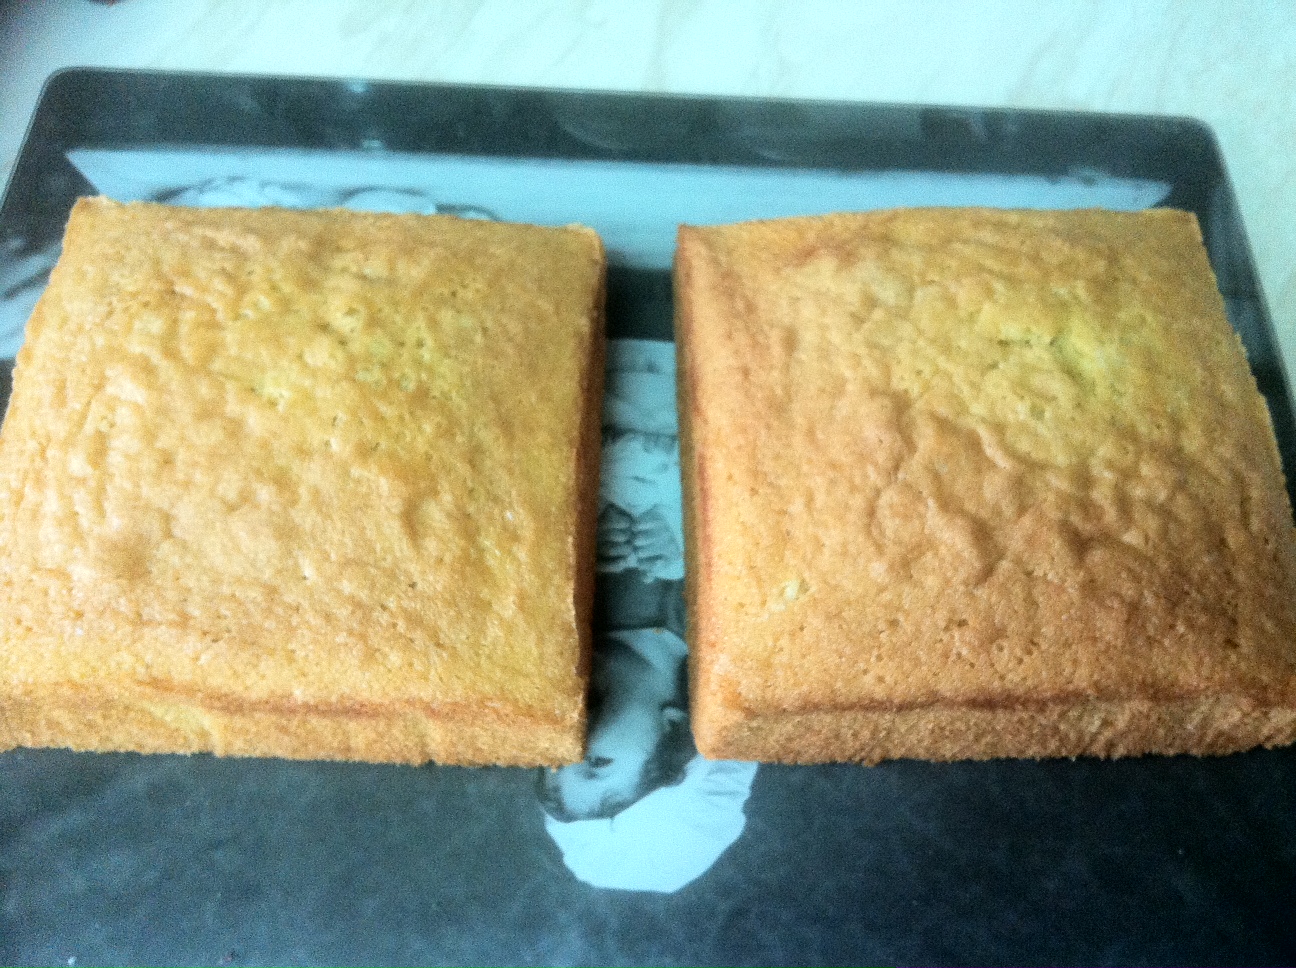
For this cake I got to use my new expandable cake tin I got for Christmas which I love. The next cake to make with this I think has to be a battenburg. I will admit I found it difficult to put together at the beginning and it was a bit of a pain to line...but then again lining tins is the most boring thing in the world to me so I guess it's not surprising that I didn't enjoy that part. But the actual method of baking two cakes exactly the same in the same tin was brilliant and will make future square cakes a lot easier.


I made a vanilla sponge cake with rum buttercream (she loves rum), I did think about making it three layers but thought that might be a little too high. I went with the purple and white theme, I do so many pink cakes I thought purple would be a little different and she's not a ridiculous lover of pink so this kept it pretty but not overwhelming.

I love piping, and want to pipe like Cake Boss! So I need to get lots more practice in and I think it came out really cute, I did have open one of my Wilton Yearbook's for inspiration on the pattern which actually came from a wedding cake picture.


The detail on the top is the same, I added some fondant lilac butterflies to give some extra cuteness and to frame the top as it would look a bit empty otherwise. Now for the cupcake I actually completely stole this idea from The More Than Occasional Baker and I absolutely love it, they're actually meant to be gift boxes topped with meringues but I decided to make a plain chocolate case by brushing LOTS of chocolate into the inside of a silicone cupcake case, leaving it too cool in the fridge a few times in between layers. Instead of making it a box I filled and topped it with the rum buttercream and added a couple of purple fondant butterflies. I also piped on white bows round the cupcake case to make a cute pattern.


I love the idea of having a cupcake on the top of another cake...and nothing in the world is better than chocolate and buttercream...

I have to say, and I know I say this almost every time....but I do think this might be the cutest cake I've made so far...

Nom! Pin It Now!

Sunday, 12 February 2012

Vanilla Cupcakes With Nutella Buttercream

This weekend I was in the mood for some proper baking, the snow is still hanging around and the thought of baking made me feel a bit warmer! I love baking for others but sometimes it's nice to have something to gorge on yourself, and it's what sundays are made for isn't it. 


We've been talking about baking with Nutella at work the last week or so, and we all looooove Nutella so I literally couldn't shift it from my mind and just knew I had to do something about it. I think it was the thought of eating a cupcake that tasted like a Ferrero Rocher was too much of a good idea to ignore.


I also thought it would be a great excuse to try out a new cupcake recipe, I was getting a bit bored of my standard one as it wasn't coming out as moist as I wanted and whenever I've seen Cake Boss I've noticed that the batter is a lot runnier than mine so thought I should experiment with a batter that was more wet. Whenever I think of amazing cupcakes I think Hummingbird Bakery, I bought the Cake Days book last year and hadn't got round to trying any of the cupcake recipes yet so I decided to try of their bog standard Vanilla Cupcakes recipe. As you can see I decorate them in two ways...mainly because I realised I was running out of the buttercream when I did the big style above, but I think the ones underneath do actually look like a Ferrero Rocher...


I thought it would be better to keep the cupcake vanilla and have the buttercream as the Nutella part, but I couldn't resist adding some Norwegian chocolate with pieces of hazlenuts to it, which I stumbled upon this morning so thought it was fate! I was fully in the baking zone today I even made a point of using some of my super girly baking accessories, pink cupcake spoon measures and heart cup measures too.  I got some really funky cupcakes cases as part of my secret santa present at work, animal print ones! Love them, so thought leopard was the natural choice for this session, of course.


I've kept most of the cakes for work but we did have to test one or two at home...to make sure they were baked properly naturally...my brother even said it was the best cupcake he's ever had so that wasn't a bad compliment after my first go with the new recipe. Mondays are never brilliant either are they...so a completely indulgent cupcake should help start the day off.

Ingredients

240g plain flour
280g caster sugar
1tbsp baking powder (yep a whole tablespoon...I was scared too)
pinch of salt
80g unsalted butter, softened
240ml milk
2 eggs
1 tsp vanilla extract
1 large family bar of chocolate with hazelnuts


Method

  1. Using a hand-held or free-standing mixer with paddle attachments, slowly beat together the butter, sugar, flour, baking powder and salt until the ingredients are well mixed in and resemble fine breadcrumbs.
  2. Mix together the milk, vanilla essence and eggs by hand in a measuring jug.  With the mixer still on a low speed, pour three-quarters of the milk mixture into the dry ingredients and mix well, scraping down the sides of the bowl to make sure all ingredients are fully incorporated.  Add the rest of the milk mixture and beat again, now on a medium speeds, until the batter is smooth.
  3. Spoon the batter into the cases, up to about two-thirds full.  If there is any batter left over, it can be used to fill up more cases, mine made 24 in the end.
  4. Drop in a cube of the chocolate on top of the cake, or a dollop of Nutella if you prefer.
  5. Pop into the oven and bake for 18-20 minutes or until the sponges feel springy when you touch them.  Leave to cool slightly before removing from the tin and placing on a wire rack to cool completely.

Nutella Buttercream Ingredients

¾ cup Nutella
¼ cup butter, softened
2-3 cups icing sugar
1 teaspoon vanilla
3 tablespoons whipping cream
1/2 bag chopped roasted hazelnuts
Method


1. Beat Nutella and butter.  Add icing sugar, vanilla and whipping cream.
You can adjust the thickness with the cream or icing sugar.  

2. Fill into a piping bag and pipe high onto the cupcakes and top with the chopped hazelnuts
3. Eat! Nom!


I also got to use my new cupcake carrier that I got for Christmas finally! Of course I made so many I had to put some in a normal tin as well but they're so convenient I'm tempted to get another one :)


On a side note, as much as I love the snow I can't wait for spring to come, it always makes me want to make scones and cakes with cream! I know you can make them all year...but it just tastes nicer in the spring doesn't it :)


Pin It Now!

Friday, 10 February 2012

Happy Birthday Amanda!

I feel like I haven't blogged in ages, it's been crazy here so I'm glad I have something good to show you. If you remember at Christmas I got a Wilton cupcake cake tin, and I've been itching to use it! It's different from my normal giant cupcakes..it's flat! Well...ish, it's still big :D just lying down.


Today is also my friend Amanda's birthday....happy birthday! She's a proofreader at our work and ridiculously good at her job...she's probably finding loads of mistake in this post as we speak (stop it! :) ) and she needed a special cake of course. It seems to be a bit of a tradition now that the girls in my section all get a cake on their birthday so there'll be many more of these over the year I'm sure.


I thought of course they funniest thing to do was to do a spelling mistake on the cake, with a big red circle around it just like she does. I couldn't help myself I had to. She's got the same humour as me so it went down really well luckily! It's also worth noting that I did have nicer reflective paper to have the cake on...but I left it in the Tesco trolley grrrrr!


I thought I'd still keep the cake really cute though in the pink and white theme that is so popular, and as it is a cupcake it still had to look cute. She loves chocolate so I used a chocolate sponge recipe and covered it all in pink buttercream. The case part of the cupcake I covered in white fondant and the top I did my now trademark rose swirl buttercream piping.

For the writing I rolled out some more white fondant and wrote Happy Birthday on it....incorrectly. My handwriting isn't the best unless I'm concentrating, actually she says it resembles a dead spider...quite accurate really. So I used my iPad to enlarge 'Happy Birthday' in a nice font on for me to copy. I did this with a black pen especially for writing on fondant with and then circled it with another in 'Cherry Red' colour. I then cut it with a quilting tool for the ribbon effect and laid it on the icing in a wavy scroll fashion to give it some depth. I then dotted lots of coloured sugar balls all of the top for the classic cupcake with sprinkles look.


And of course all of my cupcakes have a ribbon. I made one out of pink fondant that I coloured with a bit of Claret Sugarflair colouring paste, again cutting with the quilting took for a bit more texture making the ends of the ribbon really long to drape over the sides of the 'case' part.

I was a bit worried about the actual bake of the cake as the top of the cupcake part of the tin was so deep but luckily it came out really nice and moist. I love giving cakes as presents as you can really make them personal and everyone likes cake on their birthday :) Pin It Now!

Sunday, 5 February 2012

Oslo In Photos

I've just come back from spending the weekend in Oslo visiting family.

You'll all be pleased to know I managed to get the lemon drizzle through security but they did check it thinking it was a bomb! He was really good about it actually and said if it was a chocolate cake then he'd have to confiscate it! Everyone at my nan's home loved it too so that was a nice bonus :)

It was -18 when we got there and slept in three layers! It did warm up slightly but the snow was immense I loved it, although now I'm back I can see the snow's hit here too, it was a bit touch and go if I was going get home today as so many flights were canceled but I got away with it yay.

I'm just going to upload photos in mass basically lots of snow and some amazing Norwegian food. The buns featured are chocolate buns, a staple in Norwegian diet and I must learn to master them! I also have a house obsession there I looooove some of their houses!


Pin It Now!

Thursday, 2 February 2012

The Lemon Drizzle Smuggle

I'm going back to Norway for the weekend tomorrow night to see my nan. I've heard it's about -12!! So not sure how I'll cope with that, being half Norwegian doesn't mean I have proper fish blood, I need heat!

I haven't seen my nan since Christmas so it'll be great to see her, and all she has asked me to bring in a lemon drizzle cake. She loves cakes and demands it in her home everyday, which I absolutely love - cake is clearly in the genes.


I have posted this recipe before but who cares, it's gorgeous! And it helps remind me that spring is indeed on its way and will be here soon...I hope.....please? I also got an iPad this week, yay! Which I've also found is very useful to use as a cookbook (mainly because I couldn't find the book I got this recipe from to just brought up my blog!)


It's also means I got to use my mixer my nan got me again, I'm afraid there will be lots of 'mixer shots' in my future posts, unfortunately it was really dark last night so the pictures aren't too bright and sunny which they should be when you think of lemon drizzle.

I have heard you're not allowed to take food in hand luggage....which is all I'm taking. I did take a cake in August and that went fine so I hope it doesn't actually turn into a smuggling job! Could you image being caught in customs with cake...I'd look like a maniac...and you know they'd only eat it later! (p.s if you're reading this lovely airport people... please don't take my cake!)

Ingredients

  • 3 eggs
  • 240g caster sugar
  • pinch of salt
  • 180g plain flour
  • 1tsp baking powder
  • 70g butter, salted
  • 100ml double cream
  • grated zest of two lemons - please, never use artificial flavourings, use real lemons people!
Drizzle
  • 100ml water
  • 80g caster sugar
  • juice of one lemon

Method:

Preheat the oven to 160 degrees. Grab a mixing bowl and slowly whisk your eggs, now slowly add the sugar, flour, salt and baking powder. Grate the zest and add to mixture,  melt the butter and add that too along with the cream and whisk. Grease and line a loaf tin, pour in mixture and bake for about an hour...sometimes you may need more.


About 12 minutes before it's done make the drizzle. Boil the sugar and water together at 140 degrees (measure with a sugar thermometer), add the lemon juice and let boil for 10 minutes. When you take the cake out of the oven immediately lacquer on the drizzle, use all of it too, it will sink in.


Once it's cool -if you can wait....eat! Nom! Or do what I do and sneak it in your hand luggage to Norway. Pin It Now!

Sunday, 29 January 2012

Sticky Chocolate Orange Brownies

I would have to say...apart from the giant cupcakes I seem to do every ten days :) brownies are probably my signature bake. I've found a brilliant recipe and adapted it a little here and there to make it perfect for how I love my brownies. And how do I love them? Sticky, super chocolatey and like big thick slabs...no tiny slithers in my kitchen!


Work have been complaining that I've neglected them in the bringing of baked goods, so I suppose it was time I feed them up, Christmas was a month ago after all...

I have posted the basic recipe before under Ultimate Brownie Recipe, I wanted to make this batch a bit different so I thought it would be a great excuse to use some of the chocolate left over from Christmas and turn them into chocolate orange brownies. Normally a chocolate orange would not be something that it 'left over' in our house...but we did have about three around Christmas and still have another in the cupboard so all is not lost. Also...you only need half of the chocolate orange so the rest is left for you to munch while they're baking! Here I've used the popping candy one but to be honest you'd have to add a sachet of popping candy to it to notice it if you really wanted that crackle.
 

I bake these for different times each time I make them, sometimes it takes over an hour and sometimes less, and I have burnt a couple of batches from leaving them in thinking they were raw still...so I would normally say an hour is about average. They're always still quite gooey when you take them out but do set once completely cool. It's worth saying that I normally double this mix...you can never have too many brownies, fact.

Ingredients:

100g unsalted butter
175g caster sugar
75g light brown sugar (soft)
200g dark chocolate
1 tbsp golden syrup
2 eggs
1 tsp vanilla extract
100g plain flour
2 tbsp cocoa powder
1/2 tsp baking powder
1/2 chocolate orange

Method:

1. Grease and line your baking tin, I recommend a square one as it's not easy to cut them from a round tin and for some reason I find they just bake better.
2. Place the butter, sugars, chocolate and syrup in a heavy-bottomed saucepan and heat gently until it's all melted and smooth, stirring continuously. Remove from the heat and pour into a bowl to cool. You can speed up this process by placing the bowl in a sink filled with some water.


3. Turn on oven to 180 degrees. Beat together eggs and vanilla extract, then whisk in the cooled chocolate mix.

4. Sieve together the flour, cocoa and baking powder and fold carefully into the chocolate mix. It's best to use a metal spoon or a spatula.


5. Now spoon the mixture into your greased tins, break the chocolate orange segments in half, poke into the tin and spread the mixture back over and bake for 30-60 mintues. I find mine take an hour but it depend how deep your tin is.
6. Leave to cool, cut, eat. Nom!


Pin It Now!

Wednesday, 25 January 2012

Leopard Print Giant Cupcake

Another giant cupcakes I hear you say?! I know...the obsession is getting crazy now! But it seems like a bit of a tradition that whenever one of my friends has a birthday...they get a cupcake. I try to make it a surprise too by not telling them or giving any hint as I love the element of surprise!

This one was for one of my best friends Natalie. She's basically Rihanna....it makes me sick but I love her lol. So her cake had to be pretty fierce, no delicate flowers for her. And I can't quite explain it but something just said to me....leopard print. I've seen loads of cakes using this with pink and I thought that was a super cute idea...so I stole it!


The cake itself is chocolate with vanilla buttercream. I got to use my Norwegian cocoa powder again which I love as it really makes the cake a dark chocolate colour which I find so hard to do with other brands.

The bottom I have to admit took me forever, and I'd twinged my back earlier so it wasn't a pleasant process shall we say - but all worth it :). I made the bottom a very light brown colour using Sugarflair Dark Bown colouring paste, then with some left over fondant I split it into two and added a lot more dark brown to get the chocolate colour, and the other half I made black with Sugarflair Liquorice.

I wasn't sure about how the pattern was looking to begin with but I'm really happy with how it turned out. For the top I used my new favourite Wilton 1M nozzle, I'll stop going on about how amazing it is soon I promise...actually I can't promise that...


I didn't want to make the top too busy as the bottom was like a print so I kept it simple by making a pink fondant heart coloured with a teeny tiny dab of Sugarflair Claret colouring paste. Using some of the left over brown and black I rolled them together to get this twisted candy cane look and shaped it into a smaller heart, and also a bigger one for a boarder and stuck them on with a tiny dab of water. Be careful when using water as if it's visible on a fondant surface and it dries...it'll never look smooth! A trick my dad taught me and it's so true.

I dusted the top with gold cake glitter, I've used this so much I need to stock up soon and get some more colours I think I absolutely love them. I finished it off with a little pink bow at the front, only doing a small one at the front and not all the way around as to not ruin the print look.

I'm so happy she loved the cake and it was great to do something a bit sexy! I'm sure they'll be another cupcake up soon...and I still have my Wilton cupcake tin to try out too so keep posted for that one!

Nom! Pin It Now!
Related Posts Plugin for WordPress, Blogger...